Instagram

Thursday, 10 April 2014

Cupcake Skirt

The nicest looking packaging I have ever received!
Hello everyone! In this blog post I will be showing off my gorgeous skirt that I bought off a lovely girl from the US called Anna.
I follow Anna on Instagram and saw some amazing creations of skirts that she had been making, and me being me just had to have one! I requested a cupcake print one to suit my baking passion and when she sent me the picture of the print I just fell in love.


Anna took my measurements and told me it would be $71 (roughly £40), $55 for the skirt and $16 for P+P! The skirt has two pockets and is 26 inches long. The perfect circle skirt.

My eyes go very squinty in the sun!
The skirt fits perfectly, she's done an amazing job. It's going to be a big statement for my summer wardrobe and I can't wait to buy a petticoat to go with it... Maybe a pink? Blue? Yellow? All the colours!
I was expecting my skirt to take a long time to come all the way from the US! But she had sent it on the 1st and it came yesterday (the 9th). So the wait wasn't too painful.


If you can see, on my left hand I have a bright blue plaster. I cut my finger with a bread knife this morning, ouchies!

Anyway, I am so happy with my skirt from Anna, and it is really worth the money to have it custom made because it feels so nice to have a completely unique skirt and made so well too! Check her out on Instagram to see more, she has lots of lovely prints available! Her username is annanumbskull.

Betsy Jo


x


Monday, 7 April 2014

The Best Brownies


Well, it's been a while since I've done a baking post! I'm back with a bang with some amazing delicious gooey fudgey brownies!
I did a bake sale at college a couple of weeks ago and knew that brownies would be a hit. I'm not a regular brownie maker so I was worried about how they were going to turn out. But, I found the best recipe ever and will probably only ever use this one from The Brown Eyed Baker.


Ingredients 
  • 150g of Plain Flour
  • Teaspoon of Salt
  • 2 Teaspoons of cocoa powder
  • 350g of Dark chocolate (I used ASDA Smart Price)
  • 225g of Butter
  • 1 Teaspoon of Espresso powder
  • 300g of Granulated Sugar
  • 100g of Light brown sugar
  • 5 Eggs


Start off by combining the flour, cocoa powder and salt with a whisk.


Then, put in a bowl the chocolate (broken into small pieces), butter (also cut into small chunks) and the teaspoon of espresso powder. Place over a boiling pan of water and keep stirring until all is melted.
Your kitchen should be smelling like a chocolate factory at this point, mmmmm.


Prepare the sugars in a separate bowl from the flour. Then, pour the chocolate mix into the bowl whilst till warm and stir until combined. Finally add the eggs, don't whisk too much as the recipe says it will make it too cake like! 


Finally fold the flour mix into the chocolate and sugar mix. The mixture feels very gloopy and is very wet which is what makes it so fudgey when cooked! 


You can either line the pan with grease proof paper but I just rub it with butter. The recipe says to use a 9x13 inch pan. I don't have the size so I just used two!


Cook for 30 minutes, turning the pan around after 15. Take out of the oven and cut into however many slices you want. The bigger the better! After 30 minutes (a very painful long 30 minutes) they are ready to eat!

Enjoy!

Betsy Jo

x


Tuesday, 1 April 2014

Victory Rolls


My previous hair tutorial on hair quickies seemed popular and I wanted to show you all how I do my victory rolls with straight hair. No curling, just a sh*t load of back combing and hairspray!
This is my super duper boring straight natural hair. It is also recently washed which is always more difficult to style so I've chosen the worst possible hair to have when wanting to create victory rolls. But it is possible and easy once you get the hang of it, trust me!


First you need to section your hair. I would suggest using a side parting as it is more flattering to the face, in my opinion. Divide the hair by putting your thumb at the tip of your ear and following the line back like in the photos.
Once you have got your two sections then put the rest of your hair up to keep it out the way!


If you're a regular here you'll know these are my hair saviors. I use the brush for backcombing and smoothing and the spray as a hairspray. But, to be honest for this style you could use any hairspray!


Start with the bigger section of hair and backcomb, backcomb and backcomb! Do most of this near the roots but also a little towards the end of the hair to make it easier to shape. Smooth it out and spray with hairspray.
Make a loop like in the second photo, it doesn't have to be super neat because you can tidy it up with pins. Roll it down until it meets the head and use a hair grip to pin it in the middle.

As my hair is quite layered I always get wispy bits of hair here and there. The best way to get rid of these is using the hairbrush shown above to smooth it against the rest of the hair and spraying with hairspray. Then run your hand over it and grip where possible. 
Once the roll is looking a bit tidier then grip into place. Remember to use hair grips that match you hair colour!


Then start on the other side. Do the exact same as you did on the first bit. This may need a little more backcombing due to it being thinner. Don't worry if it looks like a birds nest because you can easily smooth it out!
You don't want the roll to far forward so place it just a little bit behind the other and grip! If you find yourself using endless amount of hair grips, don't worry, it's for the best!


Pinch the two rolls together and put a grip directly facing them through the middle where my finger is pointing.


Now just the finishing touches. Some hairs may need a little tidying and the back so don't be scared of a little more gripping!
I then also just push my rolls down with my hands to get the slanted shape I like them to be.


And, the finished product!
I do love vintage curls but I am so lazy and don't have much time so I usually keep to straight hair.
Hope you followed this okay!

Betsy Jo

x


Friday, 21 March 2014

Dolores Darling

With this post I'll be showing you all some more of my Collectif collection. If you have seen my previous posts you will know how much I just adore Collectif. You're always guaranteed fabulous quality and gorgeous clothes for a very reasonable price.
I seem to have gone with a theme of their Dolores range.


To start with, the the Dolores dress in black and white. This dress is £50.
I wore this dress on Christmas day (seems so long ago now). I loved swooning around the house feeling like a vintage princess! It has the classic long length to give it a vintage look but still is very flattering for the modern pin up. It is also suitable to wear for college and if I had a job I could wear what I want, that too!
The dress doesn't come with the belt but I think it goes with it so well I always wear it with it!


The Dolores shape is so flattering. Even though I am rather flat chested it still makes the area look pretty. The sleeves widen your shoulders and balance out your body.


I am genuinely in love with this outfit! In one of Collectif's amazing sales (mentioned in my previous Collectif post) I got the Liesel Blackwatch Skirt. After buying the polka dot one in navy I became very fond of the style and fit.
This skirt is currently in the sale so go go go ladies!
I was struggling to find stuff to wear with it because most of my tops are patterned. So I bought the Dolores top in red for £25. These two go perfectly together and creates a gorgeous 1950's inspired modern look.


This Dolores top is actually meant to be navy and white but the camera makes it look black. Like the red one this is also only £25! I've paired it with some denim hot pants to prepare for the summer. The top also looks great with high waisted jeans which are more suitable for the current weather! And, a pink skirt matches stunningly.

Collectif have a large range of tops and dresses with the Dolores shape so go take a look ladies!

Betsy Jo 

x


Friday, 14 March 2014

Lindy Bop Jeanette Dress


Hello! I'm back again with a real treat for you all. This one isn't edible but it sure is beautiful. I've been looking at Lindy Bop for a while and have finally bought one of their amazing dresses.
 Lindy Bop specialize in dresses, and they do it well! I bought the Jeanette dress for £29.99 in black and red leopard.
I am so happy with this dress and it hasn't caused too much of a hole in my pocket.


I'm in the garden today as it is becoming reasonably warm!
So this is the dress, isn't it lovely? It reminds me of a 1950's American diner waitress uniform. The fit is is very flattering and I did add a belt because who doesn't love a belt so tight you can't breath in but makes your waist look good?
I ordered a size 10 and it is very true to size.


I think that the quick delivery of this dress deserves a mention. I ordered it on a Monday night and it came Wednesday morning for a standard charge of £1.95!
 As of the lighting the dress looks a little pinker in the photos. It actually has more of an orange tint.


I love these heart buttons on the dress. Little extra cute details always get me excited!


Well the cats seem to approve! What do you all think?

Hope you all have a lovely weekend!

Betsy Jo 

x


Wednesday, 5 March 2014

Pink to Make the Boys Wink!


As you all know, and if you don't, I LOVE LIPSTICK! In my previous blog post about lipsticks I showed you some of my reds. Up until recently I've been a bit of a snob and turned my nose up at any lipstick that isn't red.
But, I took the plunge and have bought a couple of pinks! I love to explore new looks, and when I wear pink lipstick I feel rather cute and love to dress with light blues and yellows.


The two I have bought are, MUA Luxe Velvet Lip Lacquer in the shade Funk and Revlon Colourburst Matte Balm in Showy.
I have had my eye on the MUA Luxe Velvet Lip Lacquers for a while and they finally had them in my local Superdrug. These are £3. Yes, £3, your eyes aren't going funny! The Revlon Colourburst Matte Balm was recommended by my friend, Laura, and are £7.99.

Top - Revlon
Bottom - MUA
 
Revlon Colourburst Matte Balm
I absolutely adore the colour of this balm. I'm very picky with lipsticks, if it doesn't look like I'm wearing any unless you're at least only a meter away, what's the point? I was worried that because this was a balm that it would lose it's strength of pigment. But, it doesn't! It's so moisturizing and doesn't peel, oh and smells of mint! 


Because it's such a nice day and I love the sun I thought I would take a photo of these outside too. Please excuse my squinty eyes!

MUA Velvet Lip Lacquer
This one is a little darker which is great for when I want to wear navy's and black's. I am so impressed with this product. The pigment is amazing and it is so long lasting! I know some of you will be thinking, "Is it as good as the Lime Crime ones?". I haven't ever used their products, but this is so good I would probably say yes.
I love this product so much I am going to by all the other colours, so watch this space!


Selfies in the sun are hard!

Please feel free to leave any comments or questions!


Betsy Jo

x


Sunday, 2 March 2014

Hair Quickies!

Hello again! I don't know about you gals, but sometimes I feel super lazy with my hair. I see all the beautiful curls and creations girls do with their hair and I just think to myself, where do they get the bloody time?! 
If you're like me, having to get up six times a week before 7am for a not so glamorous job and college. I really don't have time (or energy) to create the fabulous full on vintage inspired hair everyday.
So, I've done this post to show you how I compromise with quick do's with straight hair! Oh, and I got my roots done and wanted to show off my lovely colours.

Number 1

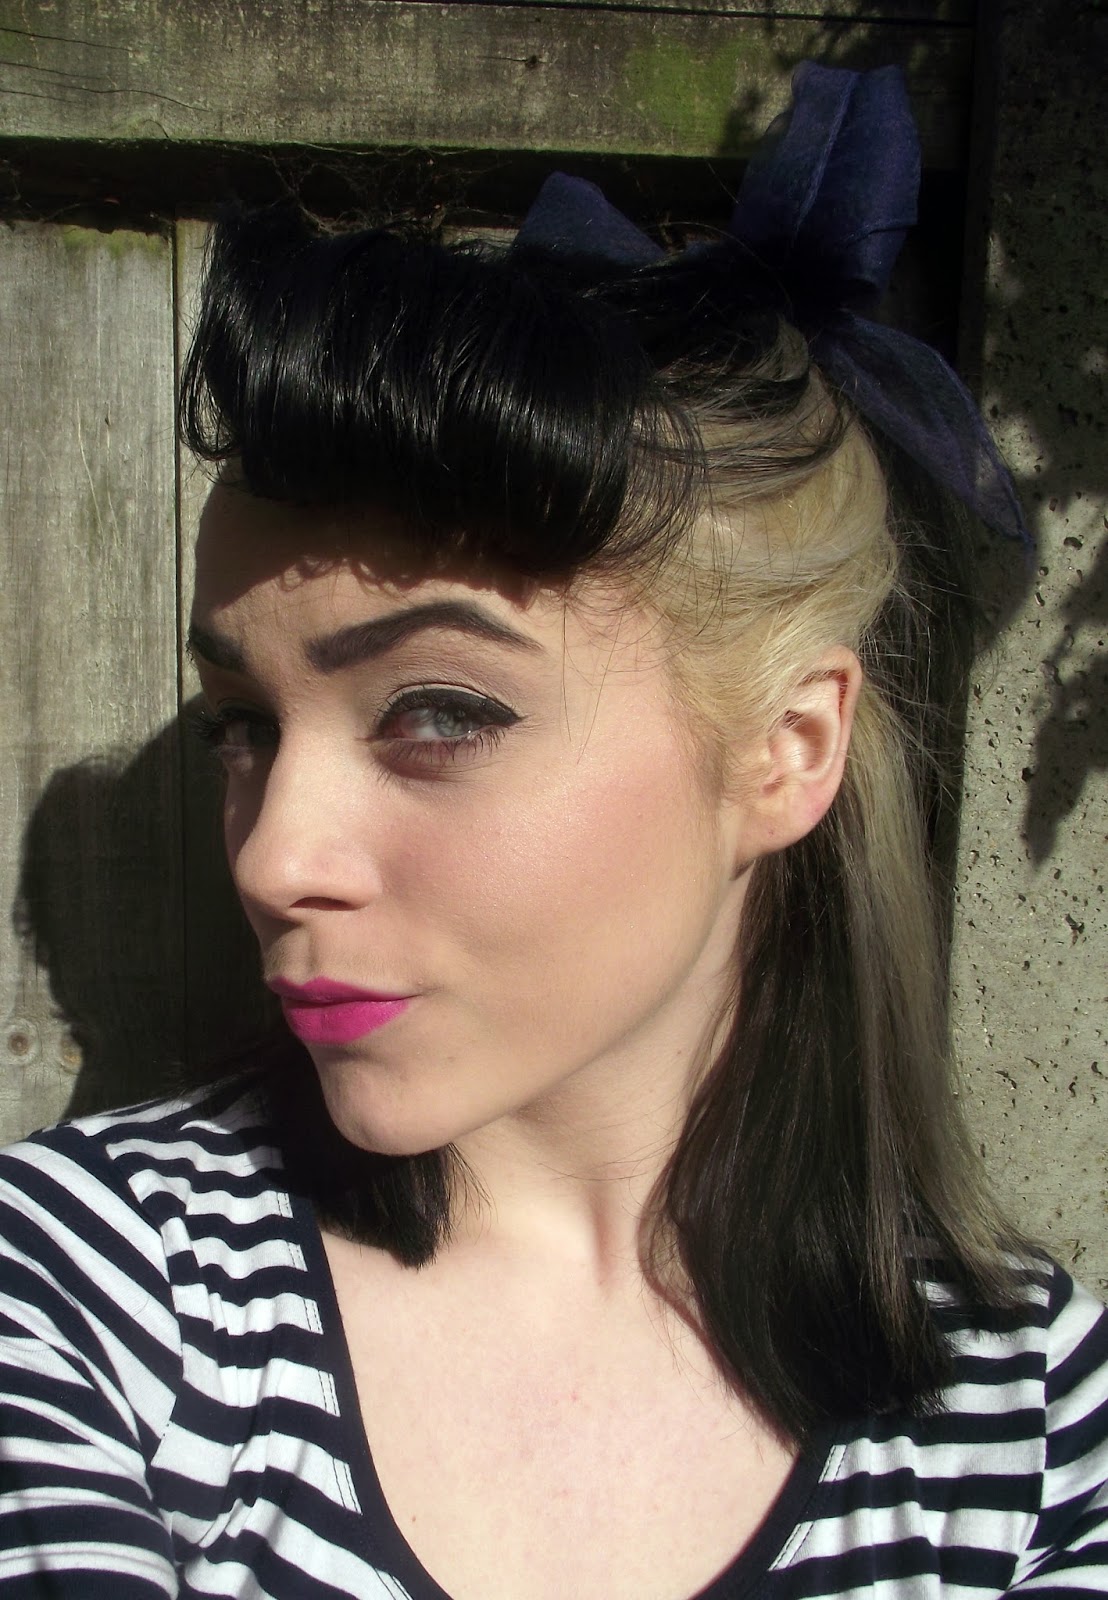
This is my natural hair.
Take the front of your hair and using a curling iron (mine is 19mm) roll the hair towards your face. Pin and spray. I use my favourite spray by Trevor Sorbie called "Curl Creator" (see more on my other hair tutorial).


Leave pinned hair for around 10-15 minutes to cool. I usually do my make up in this time. 
Once you have taken it out. Backcomb with a thick bristled brush to create height.
Then shape with your fingers, using the technique in picture three. Pull it down gently but still keeping height. You may need to brush underneath to smooth the curl.


Take a section of hair from the side of your head around the size of the first picture. Bring it to the top of your head and grip in place. Do this for the other side too (this will work for both middle and side partings).
Fix your front curl with a couple grips by tucking it under and gently sliding the grip in.


Alternative look with the front curl. This is great for when your hair is in an unwearable state and can easily be cute-ified up with a hair accessory!

Number 2
This look is pretty similar but with a different front.


When I usually do this style I just do it with all over straight natural hair. But, in these pictures I have brushed out the front curl I created in the other look. I think this is a much better way and advise you to do the same if you have time!
Take a larger section of the front of the hair and backcomb it all. Smooth the hair out then bring round to the side of the head and twist it slightly to the shape in picture 3 and grip!


Then, bring a small section of hair from the other side of your head and grip it so it meets your first section.
Finally, bring another small section from underneath the first and grip where the other two parts are.
Spray with hairspray!
Tah-dah!

Number 3
If all else fails I always go with the quiff. Even with my shorter front of hair it is easy to achieve and takes less than 5 minutes.

Use a large section of the front of your hair. Most of the 5 minutes is spent backcombing, but this is essential to enable you to get the right texture of
 hair to style it. Spray with hairspray whilst you're at the stage of picture number 2.


Make sure you smooth it out gently so it keeps volume but still looks neat. Pinch the tip and pull back, then push forwards against your head to get the shape of picture 2.
Slightly twist and grip!


Betsy Jo 

x


Instagram